Beginner's Guide to Applying Foundation Flawlessly
Proper skin typing isn't just about foundation - it influences your entire skincare approach. When you understand your skin's behavior, you can create a complete regimen that addresses its needs at every step. This holistic view helps prevent common issues like breakouts from heavy formulas or excessive dryness from alcohol-based products.
Considering Foundation Coverage
Coverage options exist on a spectrum from barely-there to completely transformative. Sheer formulas offer a whisper of color correction - ideal for no makeup days or younger skin that needs minimal help. Medium coverage strikes a balance, camouflaging minor redness or unevenness while still looking like skin. Full coverage foundations are the heavy artillery, capable of masking significant discoloration, acne, or scarring. Your choice should reflect both your comfort level and the specific concerns you want to address.
Analyzing Foundation Finishes
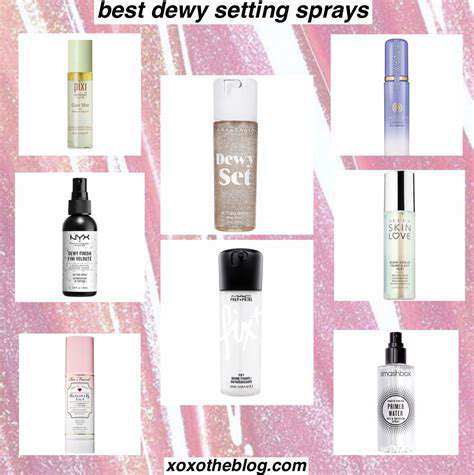
The finish determines your makeup's final effect. Matte options create a velvety, shine-free canvas perfect for oily skin or formal events. Satin finishes offer a soft glow - the Goldilocks option between matte and dewy. Dewy formulations impart hydration and luminosity, great for dry skin or achieving that coveted glass skin look. Luminous finishes take glow to the next level, with light-reflecting particles that create dimension. Consider both your skin type and the occasion when selecting a finish.
Evaluating Foundation Ingredients
Foundation isn't just color in a bottle - it's a blend of chemicals that interact with your skin all day. Those with acne-prone skin should avoid comedogenic ingredients like certain silicones. Sensitive types might steer clear of fragrances or alcohol. Natural doesn't always mean better, but plant-based formulas often work well for reactive skin. Always patch test new foundations, especially if you have known sensitivities.
Exploring Foundation Application Techniques
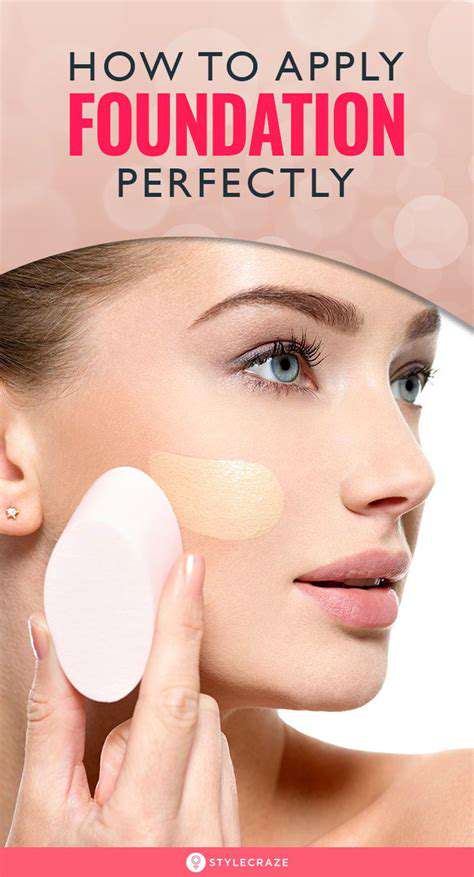
Application method dramatically affects your final result. Fingers warm the product for seamless blending - great for cream formulas. Brushes offer precision and can build coverage efficiently. Damp beauty blenders create the most natural, airbrushed effect. The key is to start with less product than you think you need and blend thoroughly, paying special attention to jawlines and hairlines where makeup often looks obvious.
Matching Foundation to Your Undertones
Undertone matching separates good foundation from great. Warm complexions have golden or peachy bases, cool skins show pink or blue tones, while neutral types sit in between. Test foundations on your jawline in natural light - the right shade should disappear into your skin. Remember: your undertone stays consistent even when your skin tone changes with the seasons.
Applying Foundation with a Brush or Sponge

Preparing the Surface
A flawless base begins with clean skin. Start by removing all traces of dirt and oil with a gentle cleanser - no harsh scrubbing needed. Follow with a moisturizer suited to your skin type. This step is non-negotiable; foundation clings best to properly prepped skin. Allow products to absorb fully before moving to makeup.
Choosing the Right Brush
Not all brushes are created equal. Flat kabuki brushes provide maximum coverage, while stippling brushes create a lighter, more diffused effect. Synthetic bristles work best with liquid formulas. The density of the bristles affects how much product gets deposited, so consider your desired coverage level when selecting tools.
Foundation Application Technique
Place small dots of foundation on central facial features, then blend outward. This ensures even distribution without product buildup at the edges. Use gentle, buffing motions - pressing too hard can cause streaks. Think of it as polishing rather than painting for the most natural result.
Blending and Buffing
Blending is where the magic happens. Pay special attention to areas where skin meets hairline or ears. Use circular motions to melt foundation into skin rather than sitting on top. For hard-to-reach areas like nose creases, switch to a smaller brush or your fingertip.
Controlling Coverage
Build coverage gradually - you can always add more, but removing excess is messy. Sheer layers create more natural-looking results than one heavy application. For spot coverage, use a small concealer brush after your base is set.
Setting the Foundation
Lock in your work with a light dusting of translucent powder, concentrating on oil-prone areas. For dry skin, a hydrating setting spray might suffice. This step is particularly crucial for long wear times or humid conditions.
Troubleshooting Common Issues
Cakey texture? Try spraying your brush with setting spray before application. Streaks? Clean your brushes more frequently. Product separating? Check that your skincare and foundation bases (water vs. silicone) are compatible. Most application problems have simple solutions once you identify the root cause.
Setting Your Foundation for Long-Lasting Wear
Choosing the Right Foundation
Foundation selection is half the battle for longevity. Consider your daily activities - office workers might prefer a satin finish, while those in humid climates need oil-control formulas. Don't just match to your wrist; test shades along your jawline in natural light. The perfect foundation should disappear into your skin, neither ashy nor orange.
Preparing Your Skin
Think of your skin as a canvas. Exfoliate regularly to prevent foundation from clinging to dry patches. Use a primer suited to your skin type - smoothing primers fill pores, hydrating ones prevent flaking. Let each layer (skincare, primer) absorb fully before proceeding.
Applying Foundation Evenly
The golden rule: less is more. Start with a pea-sized amount and add only where needed. Blend downward to follow facial hair growth patterns for the most natural look. Use a damp sponge to press product into skin rather than wiping it across the surface.
Setting the Foundation
Powder sets liquid, but choose wisely. Loose powders provide a lighter finish; pressed offer more coverage. For dry skin, try setting only the T-zone. Baking (letting powder sit before dusting off) works for special occasions but can look heavy for daytime.
Understanding Foundation Coverage Levels
Modern foundations are remarkably adaptable. Many medium-coverage formulas can be sheered out with moisturizer or built up with strategic layering. The most natural look often comes from targeted coverage rather than blanketing the entire face.
Troubleshooting Common Foundation Issues
Oxidation (foundation turning orange) often stems from skincare interactions - try applying over a silicone-based primer. Cakiness usually means too much product or insufficient blending. Separation indicates incompatible product layers. When in doubt, remove and start fresh - layered fixes often make problems worse.
Read more about Beginner's Guide to Applying Foundation Flawlessly


![How to Do a Red Lip Look [Classic & Bold]](/static/images/29/2025-05/MasteringtheClassicRedLip3AATimelessChoice.jpg)
![Best Makeup Brushes You Need [2025]](/static/images/29/2025-05/MasteringConcealerApplicationwiththeRightBrushes.jpg)